Quick Start
Logic agents are a powerful way to create and execute complex workflows. In this section, we will cover the 4 basic steps of how to get started with agents in Logic.
Step 1: Access the Logic dashboard and create a new agent
Open the Logic dashboard and log in to your account. When you first log in, Logic will begin generating a few example agents for you to explore. You can use these agents as a starting point, or you can create your own agent from scratch. The fastest way to create an agent is to describe what you need in the command bar at the top of the dashboard and press Enter. Logic will automatically generate an agent for you, which you can then refine. Alternatively, you can click the New Agent button in the top right corner of the Logic dashboard to open a blank agent editor and build your agent manually.Step 2: Write a description and set a title
What do you need the Logic API to do? Write a description of the task you want to accomplish. Additionally, set a title for your agent. This title will be used to identify your agent in the Logic dashboard.Learn how to write an agent in the Making a New
Agent section.
Step 3: Test it out!
Once you have written up your agent, a preview page is automatically generated to the right of the agent editor. Use this to verify the functionality of your agent, and edit your agent as you see fit.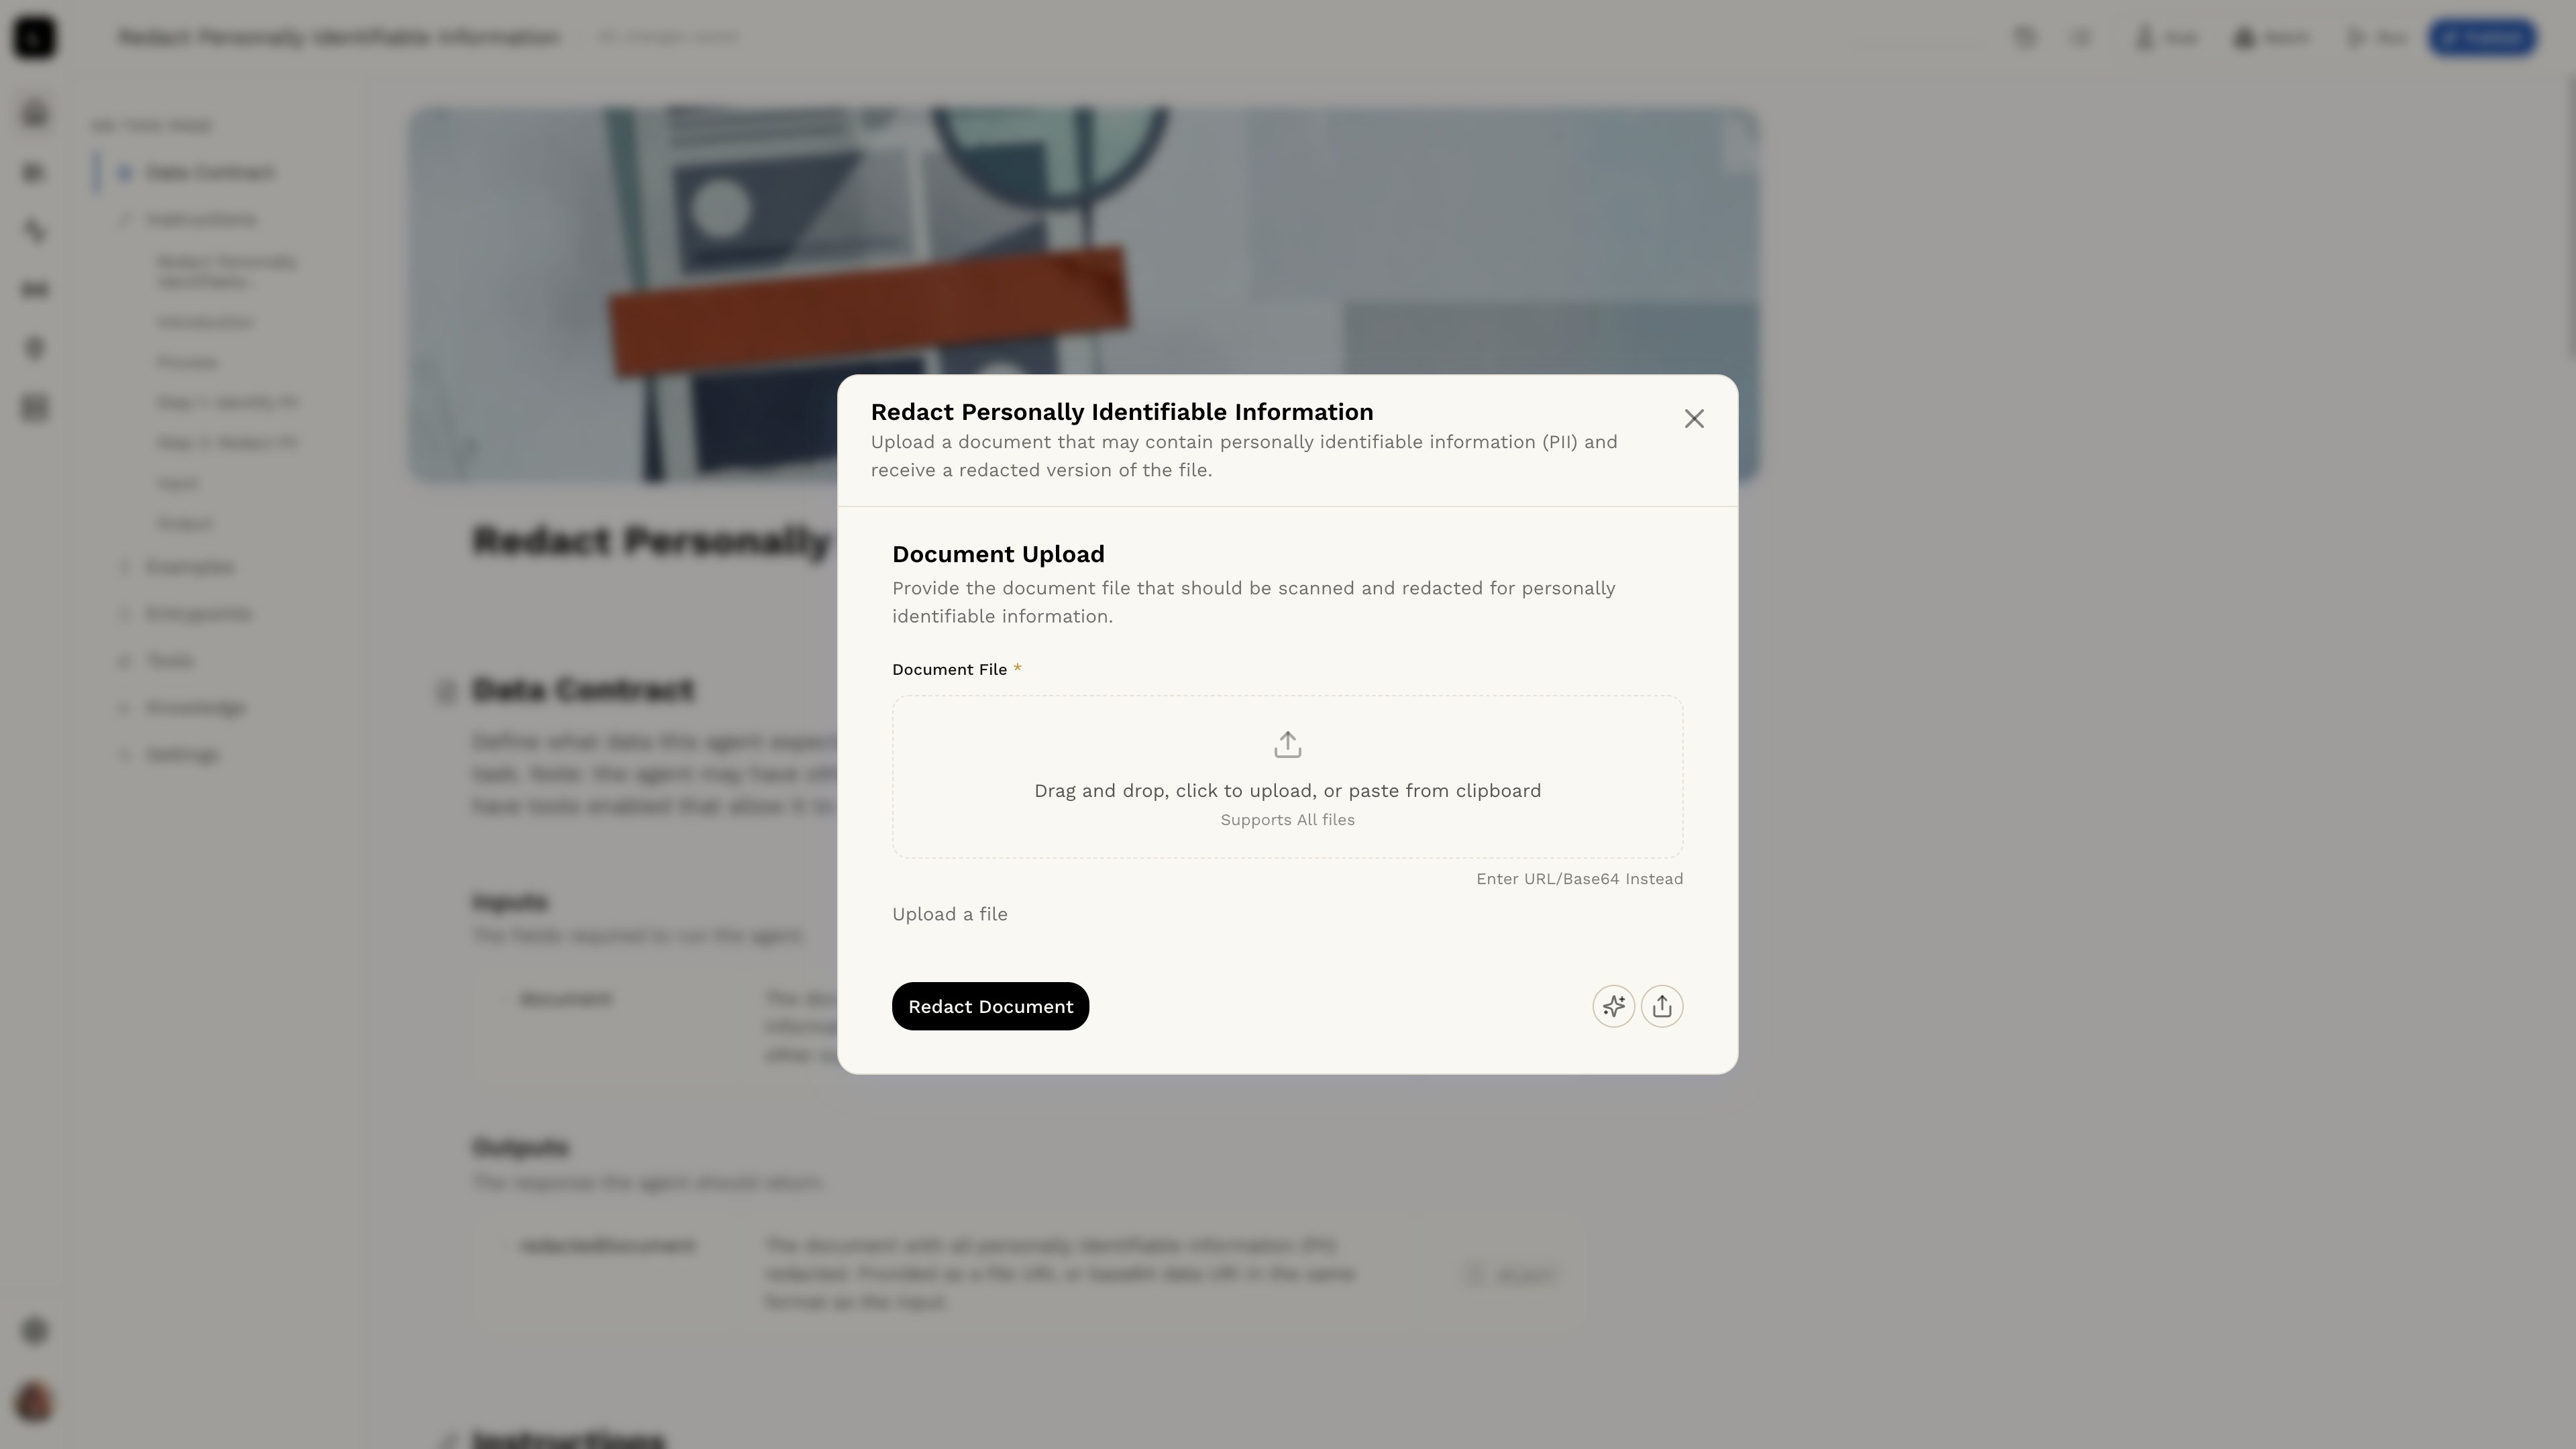
Learn how to test your agent in the Testing Your
Agent section.
Step 4: Using the API endpoint
Once your agent is published, you can use the API endpoint to execute your agent. You can publish your agent by clicking the Publish button in the top right corner of the agent editor. This will make the API endpoint for your agent available for use.Learn how to use the API in the API Reference section.