Creating a Document Manually
What do you need the Logic API to do? Write a description of the task you want to accomplish. In the example of an image analysis document, the description might be:Editing Your Document
Step 1: Access the Logic dashboard
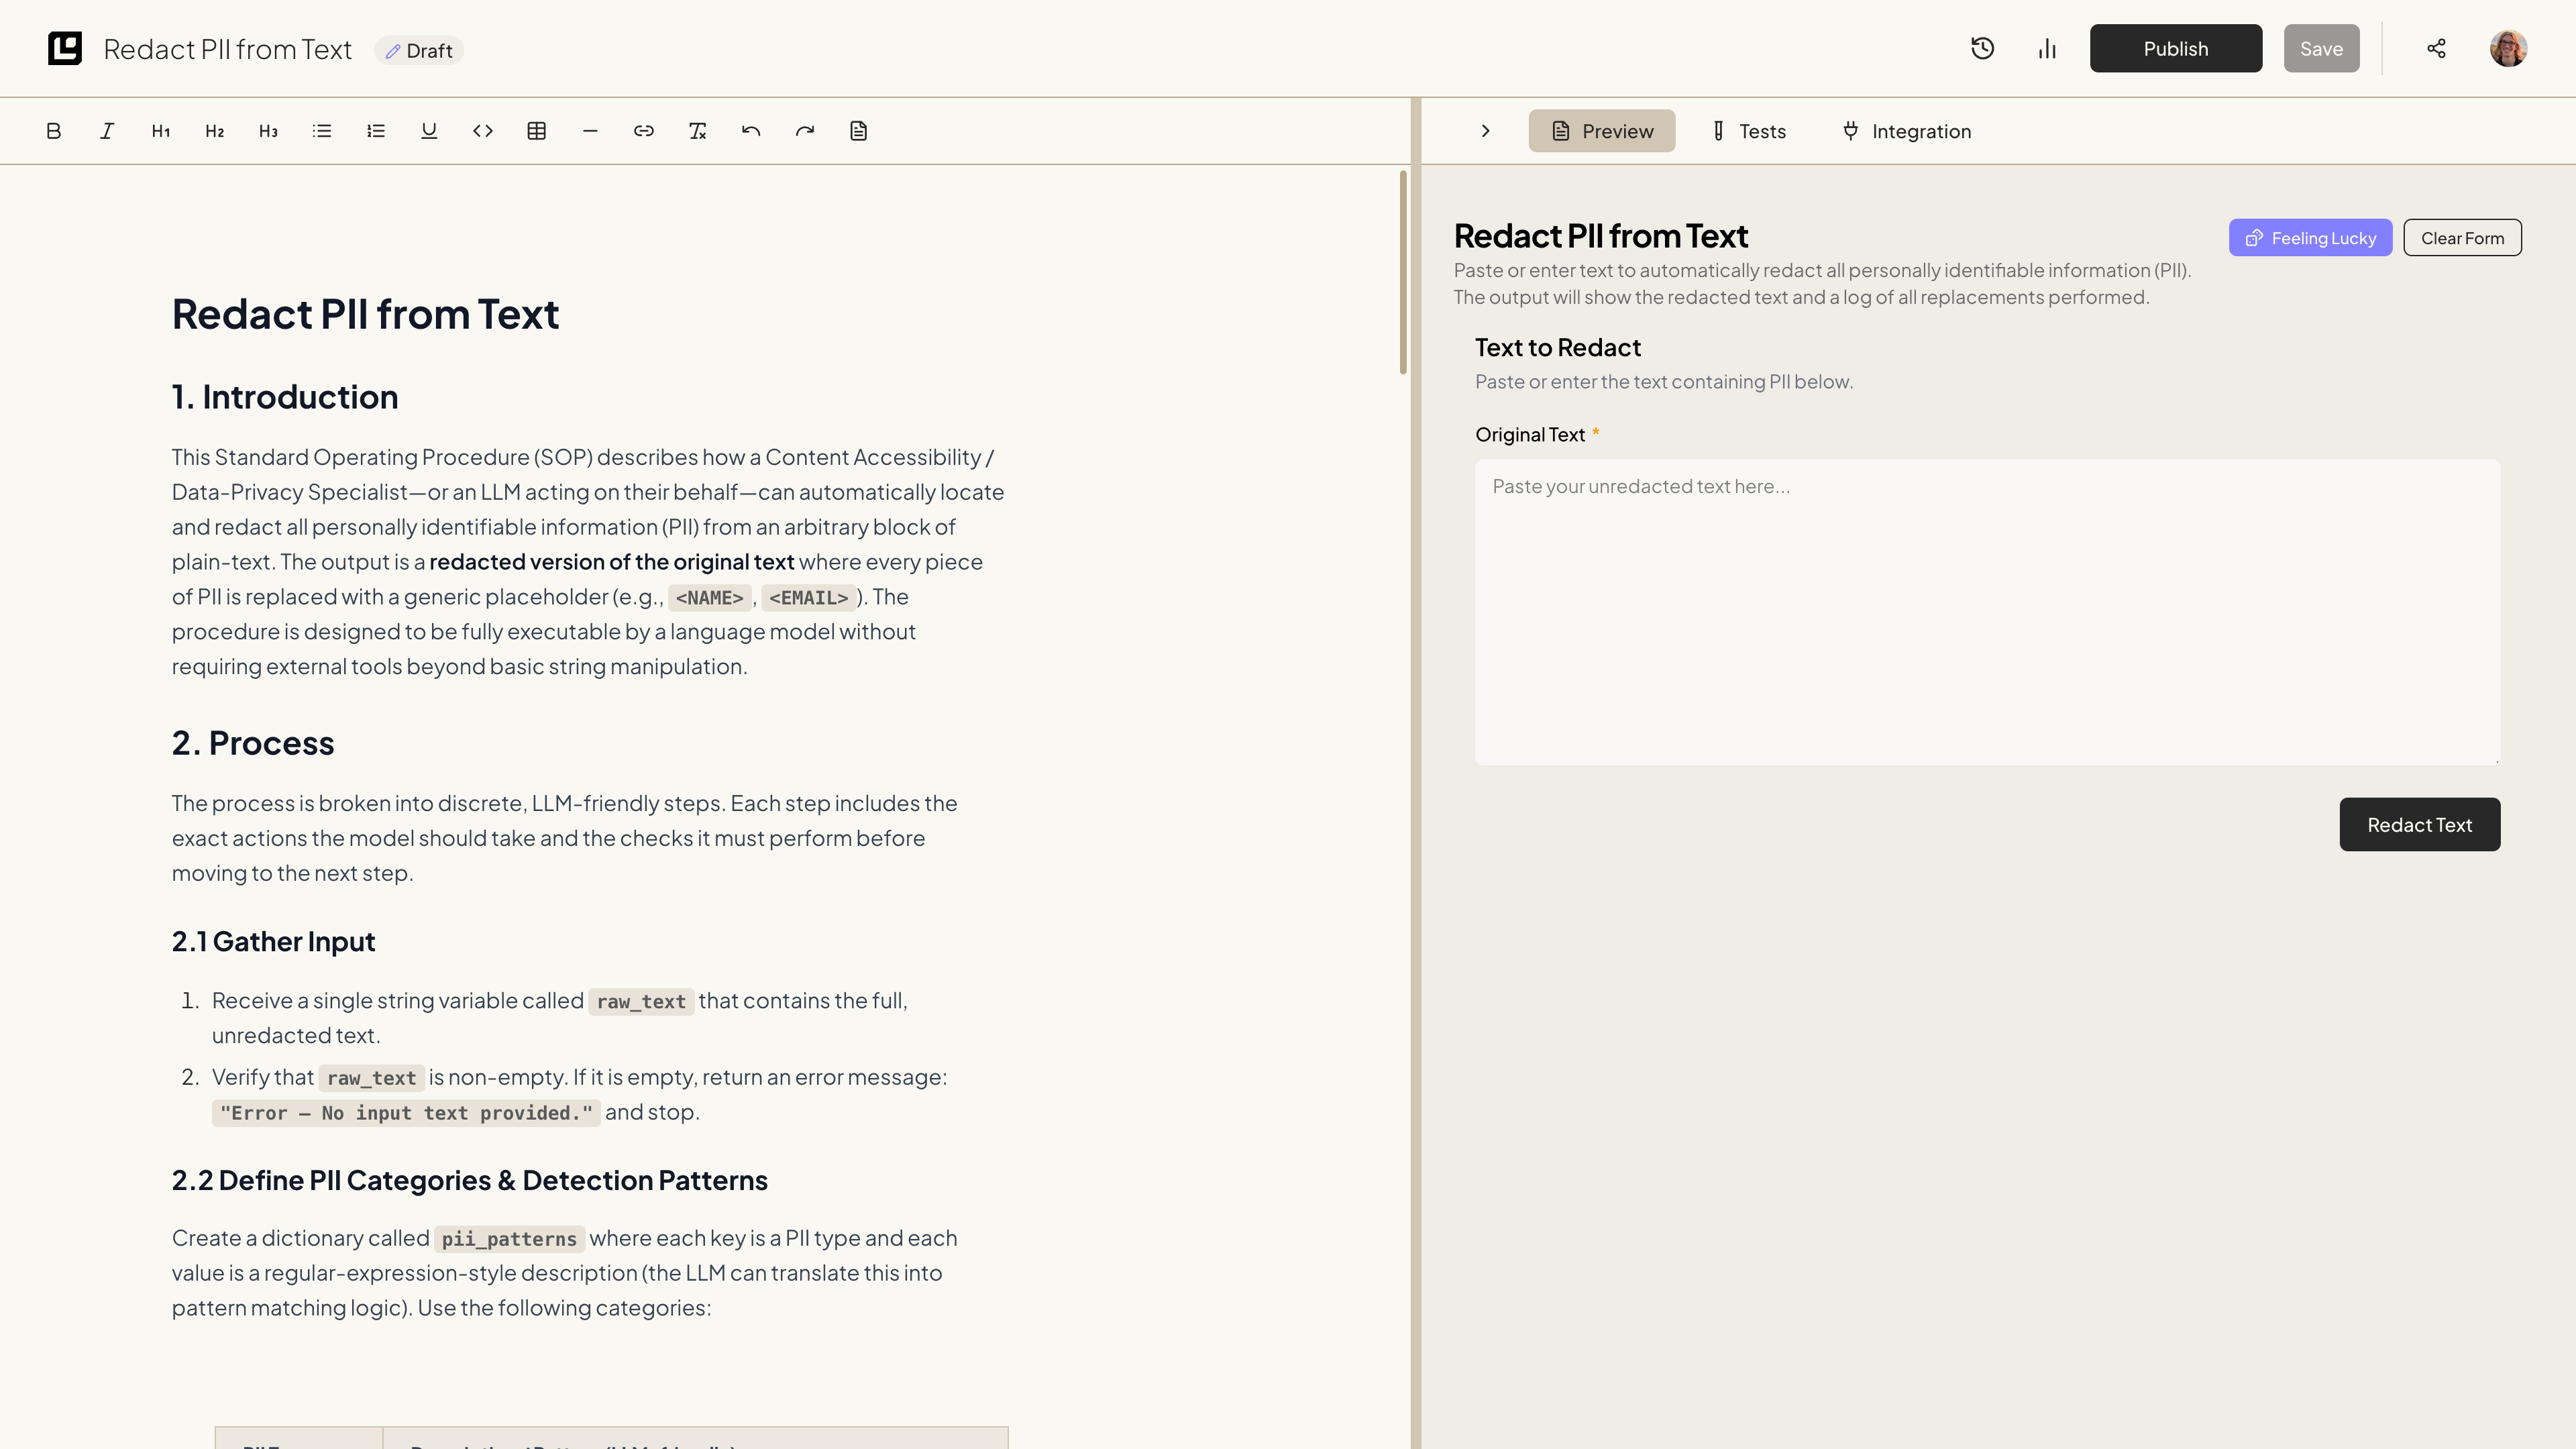
Open the Logic dashboard and log in to your account. Select the document you want to edit from the list of documents. If you have just created a document using AutoDoc, it will already be opened in the document editor.Step 2: Edit your document
You can now edit the document to suit your specific use case. Feel free to add, remove, or modify sections as needed. For example, you might include more detail about the image analysis process or add input/output examples.Step 3: Use text formatting
Using the document editor, you can use text formatting to make your document more readable. For example, you can use bullet points to list the items you want the Logic API to include in its analysis. You can also use headings to separate different sections of your document. For example, you might have a section for the input and a section for the output. The text formatting options are available in the toolbar at the top of the document editor. You can use these options to organize your document and make it easier to read.If you want to learn more about what makes a good document, check out the
What Makes a Good Document? section.
Finishing Your Document